
Here is a simple step by step guide about installing Mautic 4 on a clean Ubuntu 18.04 / 20.04 / 22.04 server. Enjoy.
Watch the video or enjoy the step by step guide with all the commands you need below.
(Plz note, this video was originally made for Mautic 4.0.1, but if you follow the commands below, it will give you the newest Mautic.)
Install prerequisites
Configure your timezone
dpkg-reconfigure tzdataInstall PHP prerequisits
sudo apt -y install software-properties-common
sudo add-apt-repository ppa:ondrej/php
sudo apt-get update
Install required packages
apt install apache2 libapache2-mod-php7.4 php7.4 unzip php7.4-xml php7.4-mysql php7.4-imap php7.4-zip php7.4-intl php7.4-curl php7.4-gd php7.4-mbstring php7.4-bcmath ntp -yInstall MariaDB 10.5
This method will install from the official repo:
sudo apt-key adv --recv-keys --keyserver hkp://keyserver.ubuntu.com:80 0xF1656F24C74CD1D8
sudo add-apt-repository 'deb [arch=amd64,arm64,ppc64el] http://mirror.lstn.net/mariadb/repo/10.5/ubuntu bionic main'
sudo apt update
sudo apt install mariadb-server
Configure Apache2
Configure Apache2 site configuration file for Mautic. This file will control how users access Mautic content. Run the commands below to create a new configuration file called mautic.conf
sudo nano /etc/apache2/sites-available/mautic.confThen copy and paste the content below into the file and save it. Replace the highlighted line with your own domain name and directory root location.
<VirtualHost *:80>
     ServerAdmin admin@yoursite.com
     DocumentRoot /var/www/html/mautic
     ServerName yoursite.com


     <Directory /var/www/html/mautic/>
        Options +FollowSymlinks
        AllowOverride All
        Require all granted
     </Directory>

     ErrorLog ${APACHE_LOG_DIR}/error.log
     CustomLog ${APACHE_LOG_DIR}/access.log combined

</VirtualHost>
Add SSL
sudo add-apt-repository ppa:certbot/certbot
apt update && apt upgrade -y

sudo apt-get install python-certbot-apache
Initiate Certbot setup
certbot --apache -d subdomain.yourdomain.comOnce you configured the Virtual Host as above, you’ll need to enable it by running following the commands:
sudo a2ensite mautic.conf
sudo a2enmod rewrite
Tweak PHP settings
sudo nano /etc/php/7.4/apache2/php.iniSome of these settings will be already set as below, but you still need to make all the necessary changes.
You can anytime search in the file editor with CTRL+W.
file_uploads = On
allow_url_fopen = On
short_open_tag = On
memory_limit = 256M
upload_max_filesize = 100M
max_execution_time = 300
post_max_size = 200M
date.timezone = "Europe/Zurich"
(When you finished, you can close the file with CTRL+X and Y + Enter)
It is time to restart Apache to validate all changes.
sudo systemctl restart apache2.serviceCreate our database
Once we installed the database, let’s secure our installation.
sudo mysql_secure_installationWhen prompted, answer the questions below as follows:
Enter current password for root (enter for none): Just press the Enter
Set root password? [Y/n]: Y
New password: Enter password
Re-enter new password: Repeat password
Remove anonymous users? [Y/n]: Y
Disallow root login remotely? [Y/n]: Y
Remove test database and access to it? [Y/n]: Y
Reload privilege tables now? [Y/n]: Y
Stop and restart the server
sudo systemctl stop mariadb.service
sudo systemctl start mariadb.service
Mautic needs a database to run, so we will make an empty database first.
We need to log in into our MariaDB database server, with the following commands below.
CREATE DATABASE mauticdb;Create a database user called mauticuser with new password. This is a password, which will be used for especially this database. Do not use your root password.
CREATE USER 'mauticuser'@'localhost' IDENTIFIED BY 'YOURSTORNGPSW';Then grant the user full access to the database. (Make sure you use the password you just gave above)
GRANT ALL ON mauticdb.* TO 'mauticuser'@'localhost' IDENTIFIED BY 'YOURSTRONGPSW' WITH GRANT OPTION;We are done, save your changes and exit.
FLUSH PRIVILEGES;
EXIT;
Download Mautic
Let’s download the newest version from Github
mkdir /var/www/html/mautic
cd /var/www/html/mautic
wget https://github.com/mautic/mautic/releases/download/4.4.9/4.4.9.zip
unzip 4.4.9.zip
rm 4.4.9.zip
Reset ownership and permisssions
sudo chown -R www-data:www-data /var/www/html/mautic/
sudo chmod -R 755 /var/www/html/mautic/
Reload Apache
service apache2 reloadInstall Mautic
Now, open your browser and browse to your domain name. You should see Mautic setup wizard.
You supposed to see something like the following screenshot:
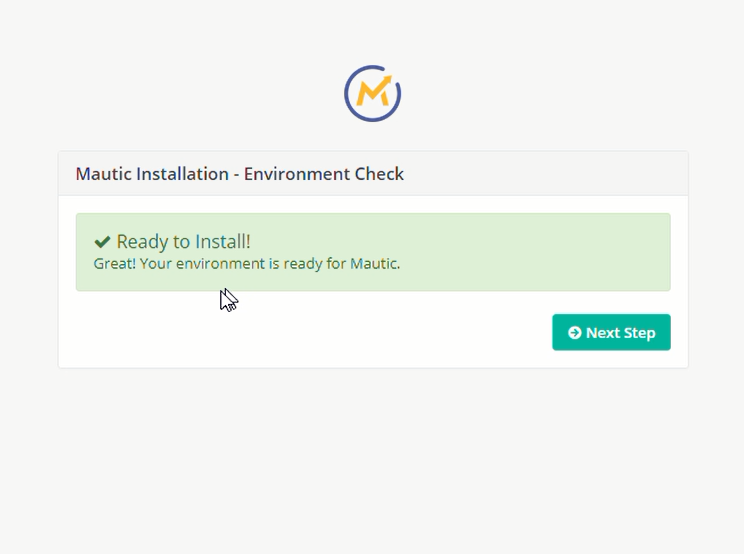
If you don’t see anything red, we are good to go. Click on Next step.

Fill out the fields with the database nane, database user name and passwords as set previously.
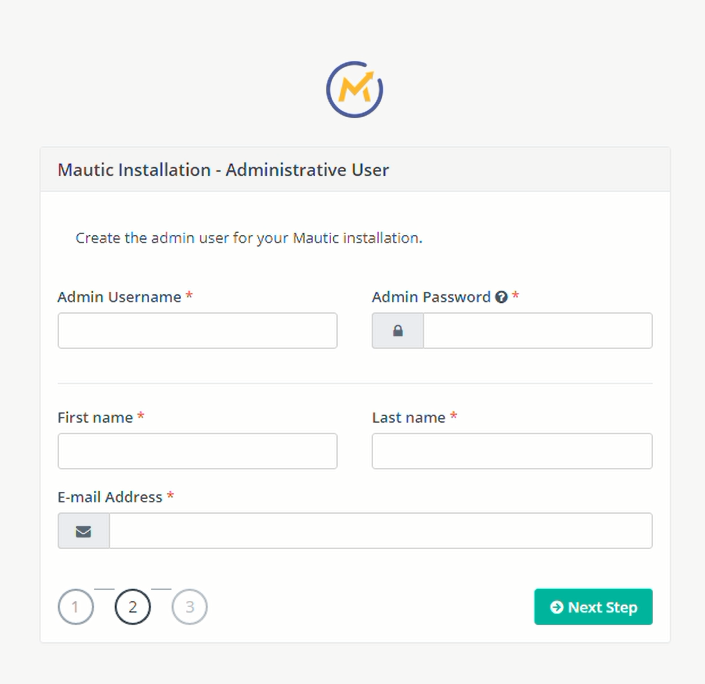
Now we need to create the credentials of our main admin user.
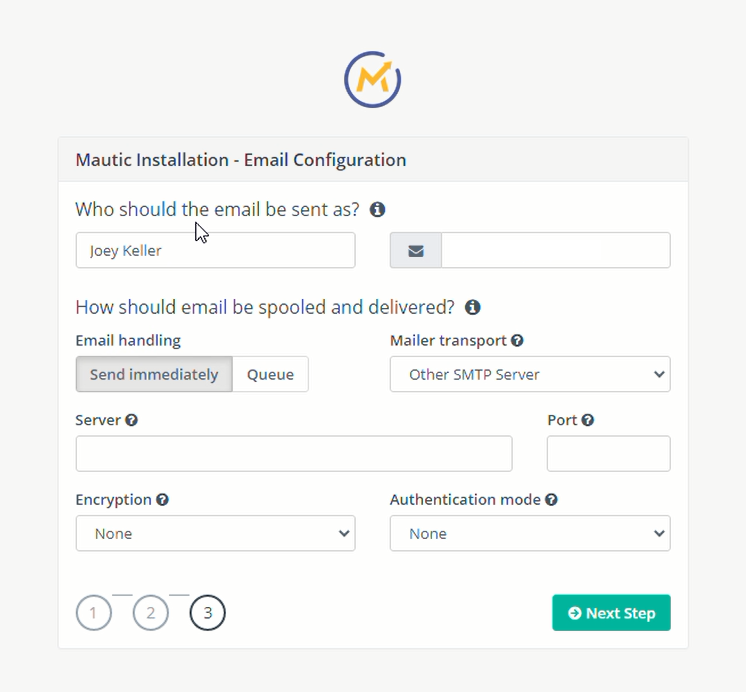
You can specify the SMTP settings here, but that differs based on your SMTP service provider. You can also leave it empty and click on next.
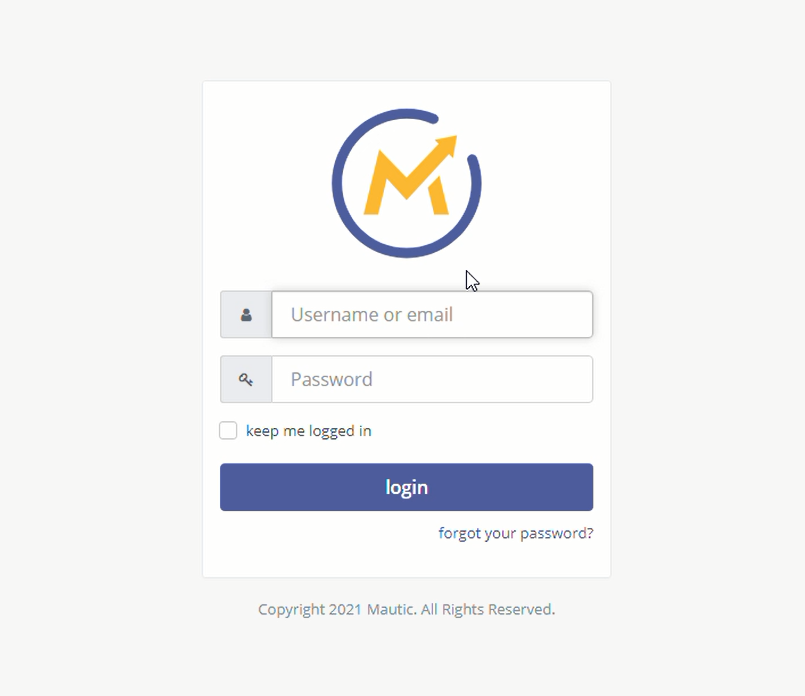
Hopefully you will see a login screen. Congratulations. You are almost done!
Add cronjobs
I like to run my cron commands sequentially, and this is why I add them to a single file.
nano /usr/local/bin/mauticcrons.shI have a fine tuned cron script, but you can change each element if you know what you are doing:
#!/bin/bash

MAUTICCONSOLE="/var/www/html/mautic/bin/console"


if [ -z "$(ls -A /var/www/html/mautic/var/spool)" ]; then

	php $MAUTICCONSOLE mautic:broadcasts:send --limit=50
	php $MAUTICCONSOLE mautic:campaigns:rebuild --batch-limit=300
	php $MAUTICCONSOLE mautic:segment:update --batch-limit=900
	php $MAUTICCONSOLE mautic:campaigns:trigger
	php $MAUTICCONSOLE mautic:import --limit=500
	php $MAUTICCONSOLE mautic:webhooks:process
	php $MAUTICCONSOLE mautic:reports:scheduler
	php $MAUTICCONSOLE mautic:maintenance:cleanup --days-old=365

else
	php $MAUTICCONSOLE mautic:broadcasts:send --limit=200
	php $MAUTICCONSOLE mautic:emails:send --message-limit=200
fi
Save it, and open the crontab:
crontab -eAdd the script to the cron and run it every minute:
* * * * * /bin/bash /usr/local/bin/mauticcrons.sh