
Marketing Automation start with tracking your contacts on your own website and in your sent emails. In order to do so, you’ll need to add a small tracking code to your website.
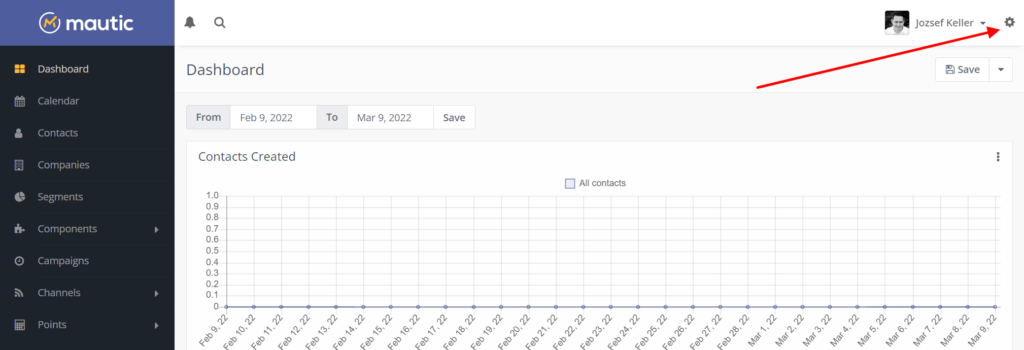
This is where you find the tracking code:
- Click on the GEAR icon. This is where all the configuration can be found.
2. Click on Configuration (1) and Tracking Settings (2).
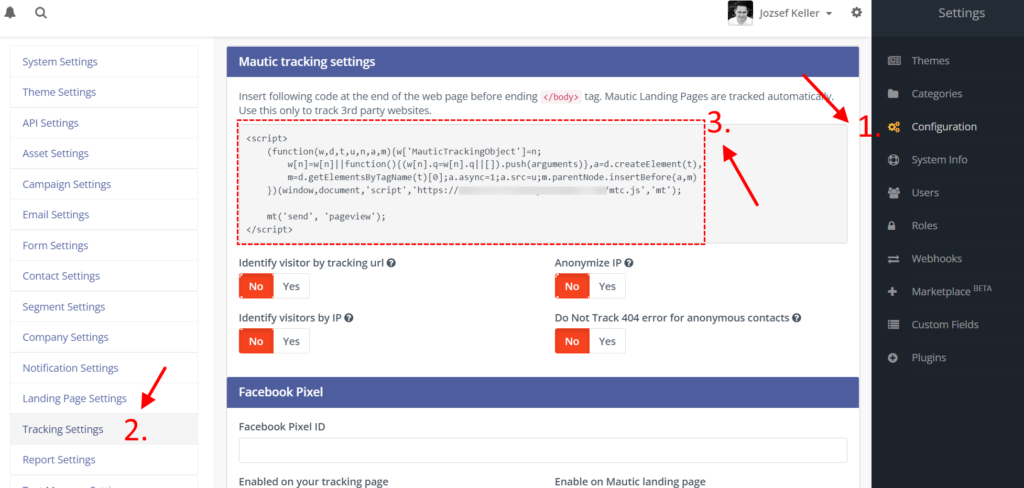
3. Copy the tracking code (3.) and insert it in the Header of your website. Where exactly, that depends on your CMS.
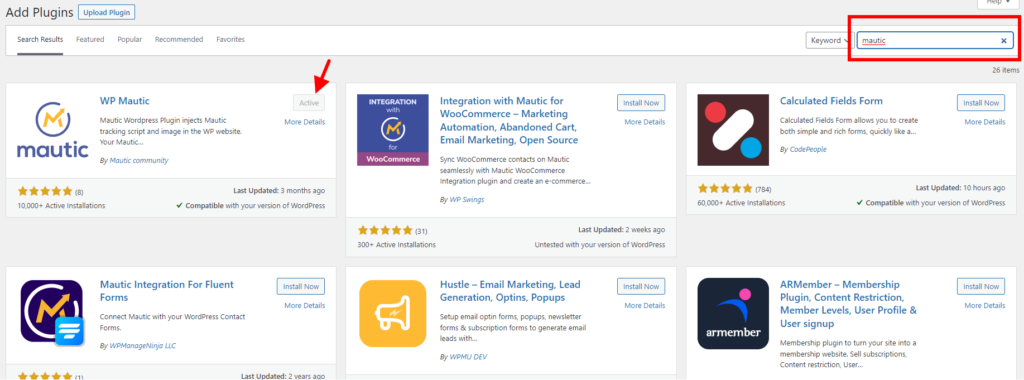
4. If you have WordPress, it’s lot easier. Install the Mautic plugin:
Search for Mautic and add this plugin:
Now go to Settings > Wp Mautic.
Set up the followings:
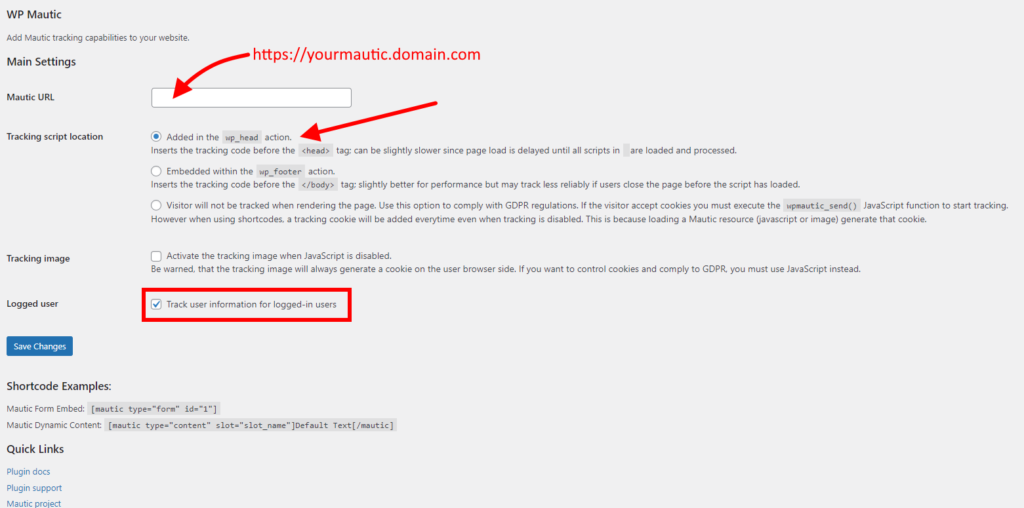
What to watch:
- Make sure, you are adding the URL without training slashes. No / at the end!
- Add the tracking code to the header. This way you won’t loose any tracking, even if the page loads slower. But if your Mautic hosting is slow, your visitors will have to wait for Mautic to load. In this case add it to the footer.
- If you turn on tracking for loggen in users, then you’ll be able to identify your contats better, since WordPress will pass the name and email every time someone logs on.
Test the tracking
Testing is tricky, because you can’t test Mautic visits with the same browser as the one where you logged in into Mautic. This is because Mautic will think you are just an admin checking your own page, and will record nothing. You’ll be a ghost.
Please open another browser identity or another browser (if you use Chrome, open Edge) and check your website. Go to contacts and see if you have a new anonimous visitor by clicking on the anonymous icon:
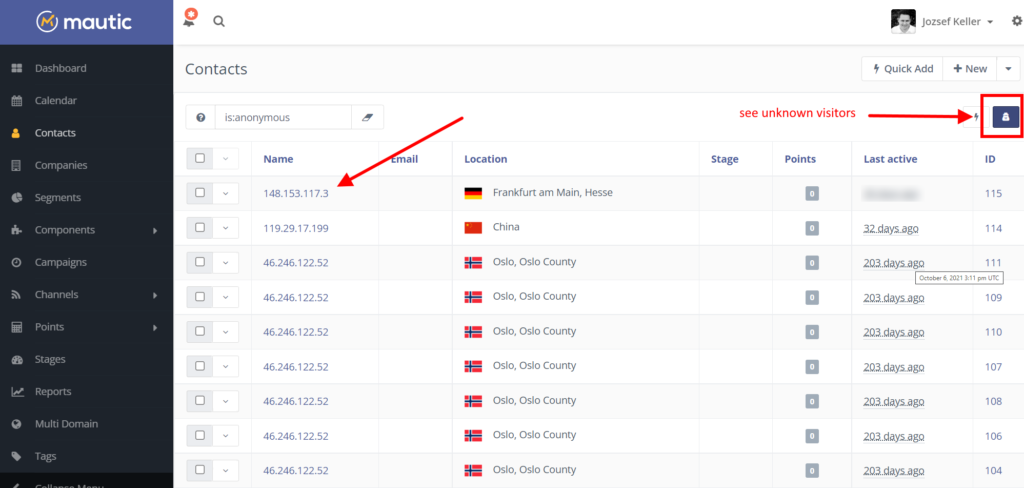
If you see your own IP there, then you are all set.
