
What the hell is a segment email? Well, it’s an email, which you send out at a specific time in batches or at once to one or more segment(s). In other systems it might be called broadcast email or newsletter.
Okay, so what is a template email? I can tell you for sure, that is not an email template. Template emails are emails, that you can use over and over again as a campaign ingredient. You send it when the campaign logic decides to be sent out to the members of a certain campaign.
Let’s make an email
Start by opening the Channels menu and click on Emails. Then click on New to add a new email.
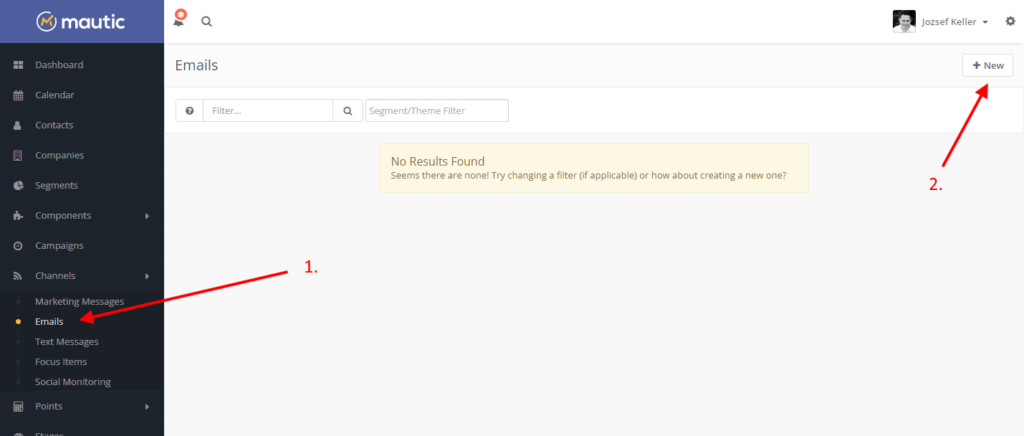
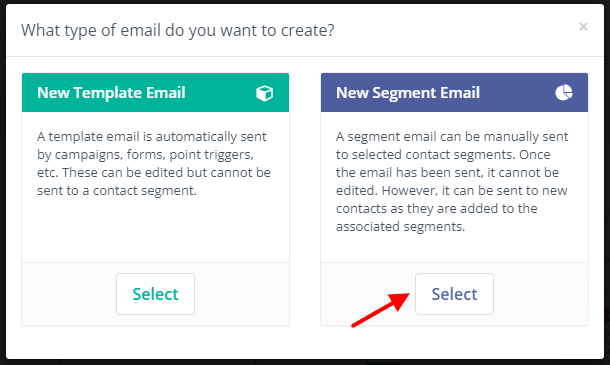
The most important question comes up. Is it a Template email or Segment email? Choose segment email.
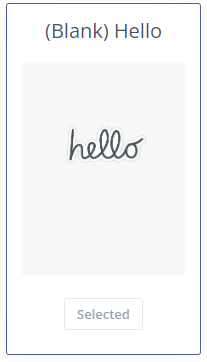
Now you need to choose a template, which will be the base of your email. Mautic emails are written in 2 languages: HTML and MJML. The first one is a standard HTML, which hopefully will generate a responsive email, the second one guarantees to create a nice responsive email for you. There is no way to know which email template is responsive, I suggest you download the template called “Hello” from the Download Center, and use it for email creation. Choose “Hello” from the templates.
Now let’s see all the settings for the email:
Let’s go through one more time.
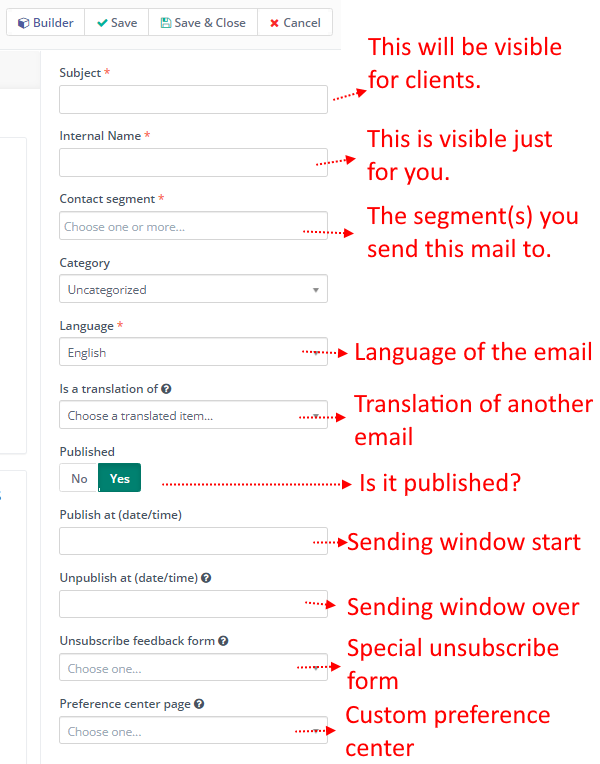
- The Subject is visible for clients, since this is the subject of your email.
- The Internal name is for you to stay organised. It can be something like “Main Nurture 1” for example.
- Contact segment will contain all the segments this email has to reach. Even if a person is in multiple segments, they will only get one email.
- Language specifies the language of this email.
- Is a translation of will connect this email with another one as a language variant. Let’s say you have an english newsletter, and you create a german version as well. With this option here you bundle the two email versions together, and when the main email (parent email) is sent out, each conact will get the newsletter based on their prefereed language setting. Awesome!
- Published means if a newsletter is active or not. Can it be sent or not.
- The Publish at and unpublish at are independent from the Publish settings. These two values will describe a validity window, when the email is sent out to any contacts who happen to be in the segment specified above. If you set these values for the future, then you can schedule an email for a future send. Don’t forget to close the sending window with the second future date, otherwise anyone who joins the segment one year later will still get this email.
- Unsubscribe feedback form can be a special form that you use for the unsubscription dialog.
- Preference center page is a custom page you can create for managing user preferences. I have a tutorial about it, it’s awesome!
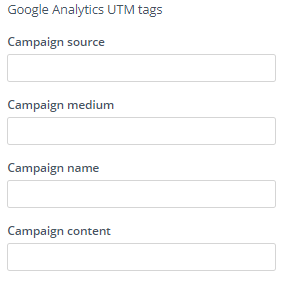
But the settings are not over yet 🙂 You can also set UTM tags specific to this email:
Okay, but what happens if I take the green pill? I mean if I take the template email?
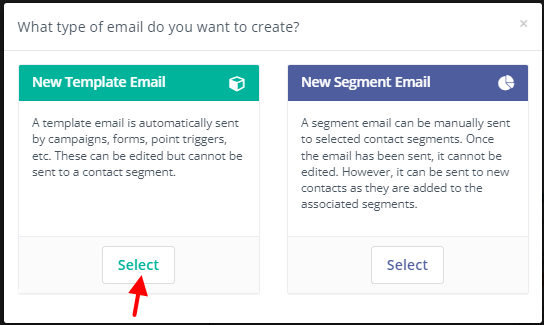
Well the only difference is, that template emails don’t have segment recipients. The campaign will decide who get’s this email and when. Everything else is pretty much the same as a segment email.
Designing emails
Once you added all your settings, you can enter the email builder with this button:

I created a video about the email builder, it will show you everything you need to know:
Once your email is ready, you can send it out to your audience. Once you click on send the following dialog comes up:
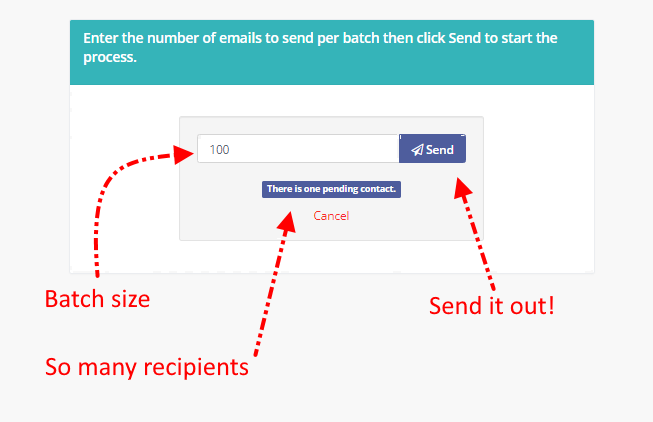
Just leave the batch size as it is. 100 is a good value, later we can learn how to fine-tune batch sizes. Our dialog also shows the number of recipients. This mailing will go out to only 1 contact.
Sending emails
Once you are okay, click on Send and confirm your choice.
But what happens in the background? You can learn it from this video:
Awesome, now you are ready to create and send emails!
