
Mautic doesn’t have lists, so in order to create an audience and be able to communicate with them you’ll need to create a segment.
Add a new segment
Go to the segments in the main menu, and click on New (right side.)
Note, that there are two tabs. We fill out the details in the first tab, and build our segment in the second one.
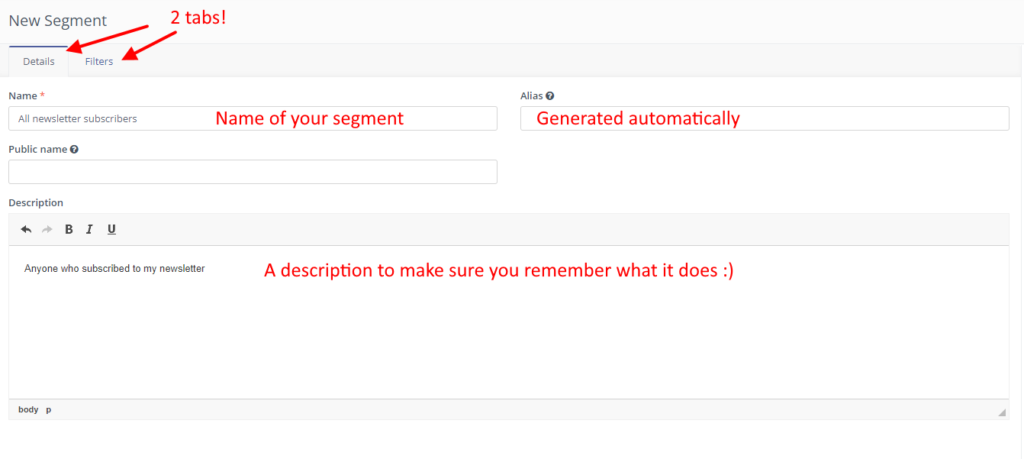
Define the name of the segment first. In this example I’ll make a newsletter template.
Create filters
After clicking on filters you are able to build your first segment. Open the dropdown to add the first filter:
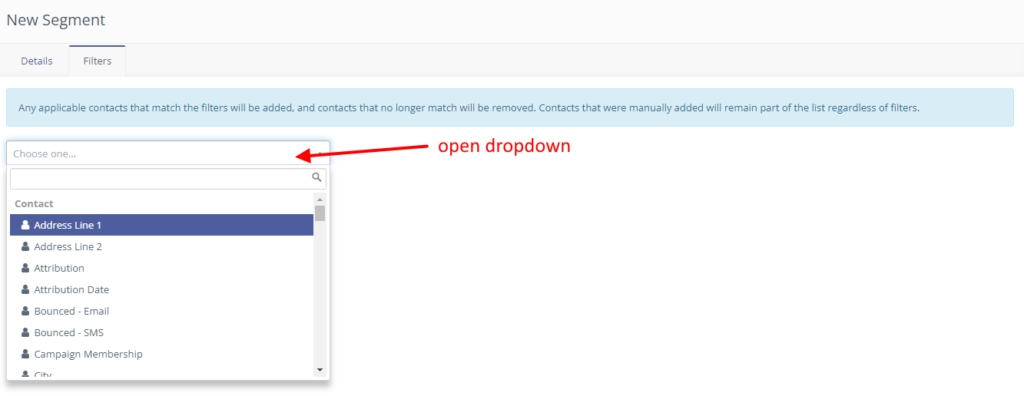
We want to add a tag, so look for “Tags” in the list. You can also start typing it will filter the possible variables.
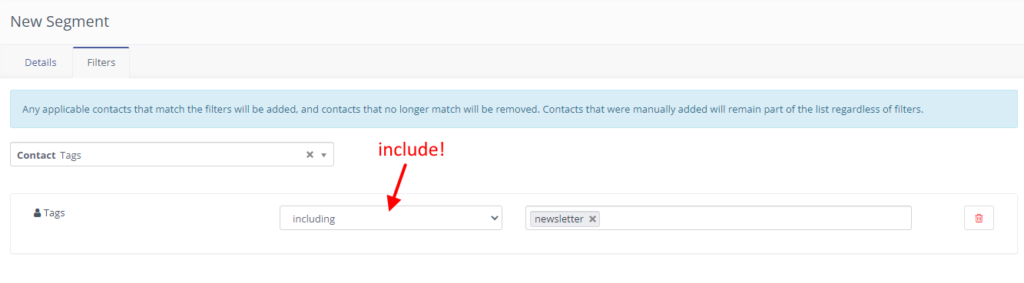
Choose the “Tags” and choose “include” in the filter. Also choose newsletter if the tag is already available. If you haven’t added the newsletter tag yet, you can type it in and press ENTER. This will create the tag.
We also would like to make sure this segment includes anyone who has an email. Click on the dropdown and choose Email from the list:
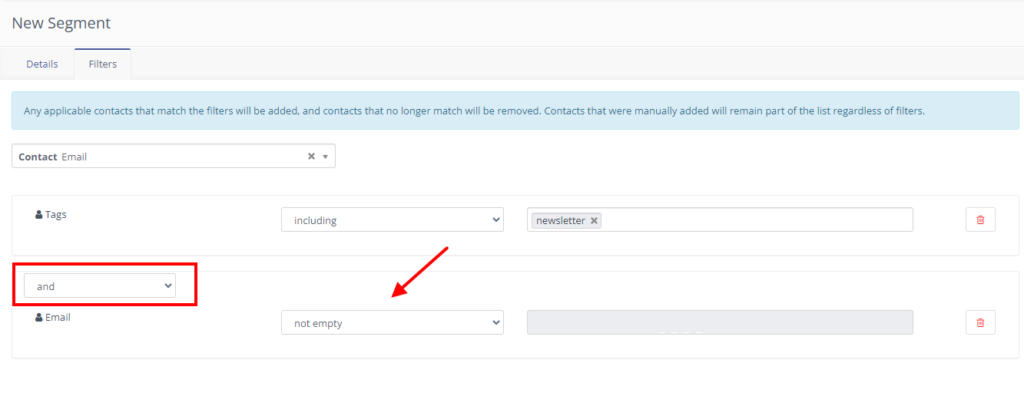
As you can see we have an AND logic between the two filters. This is the way you can make sure that both conditions have to be met in order for a contact to be the member of a segment.
I also choose “not empty” as a condition to make sure only conatcts with a real email address are in this segment.
We could also exclude unsubscribes and bounces. This is the complete filter for that:
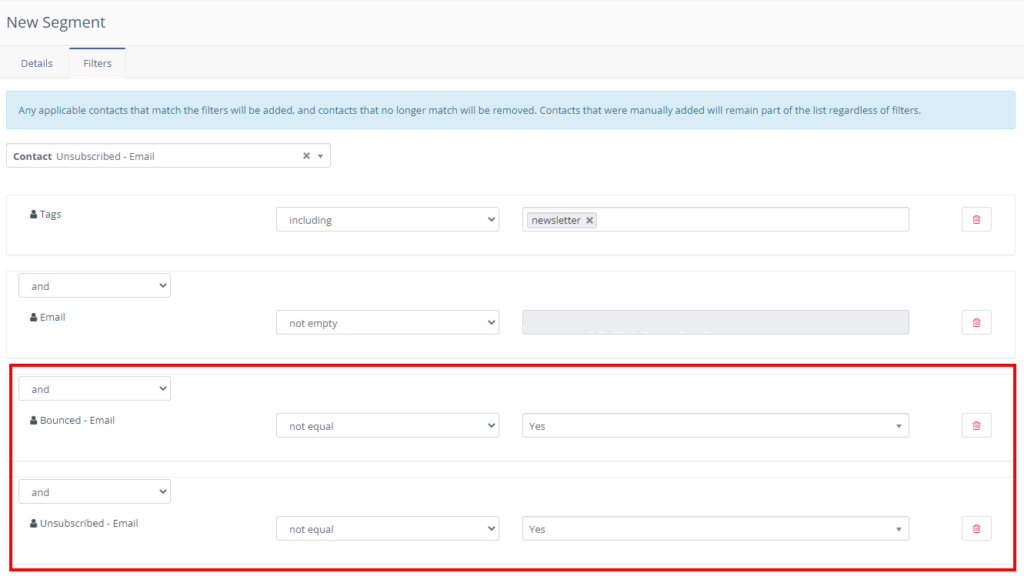
By setting this up you have a perfect segment for your newsletter subscribers. Good job!
